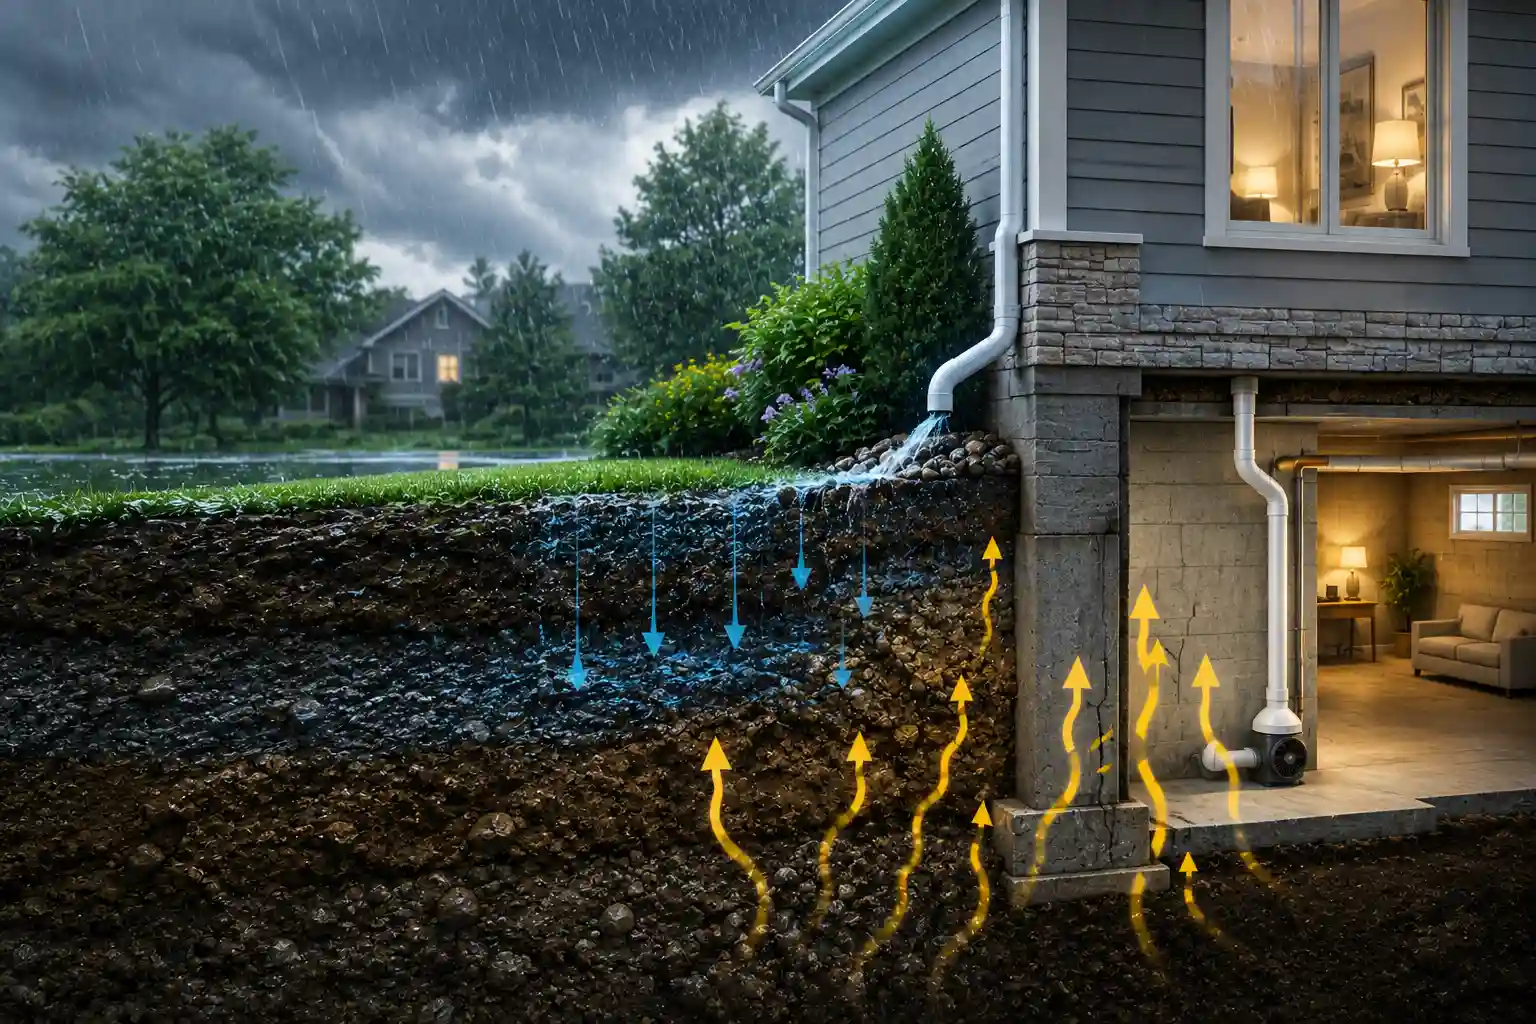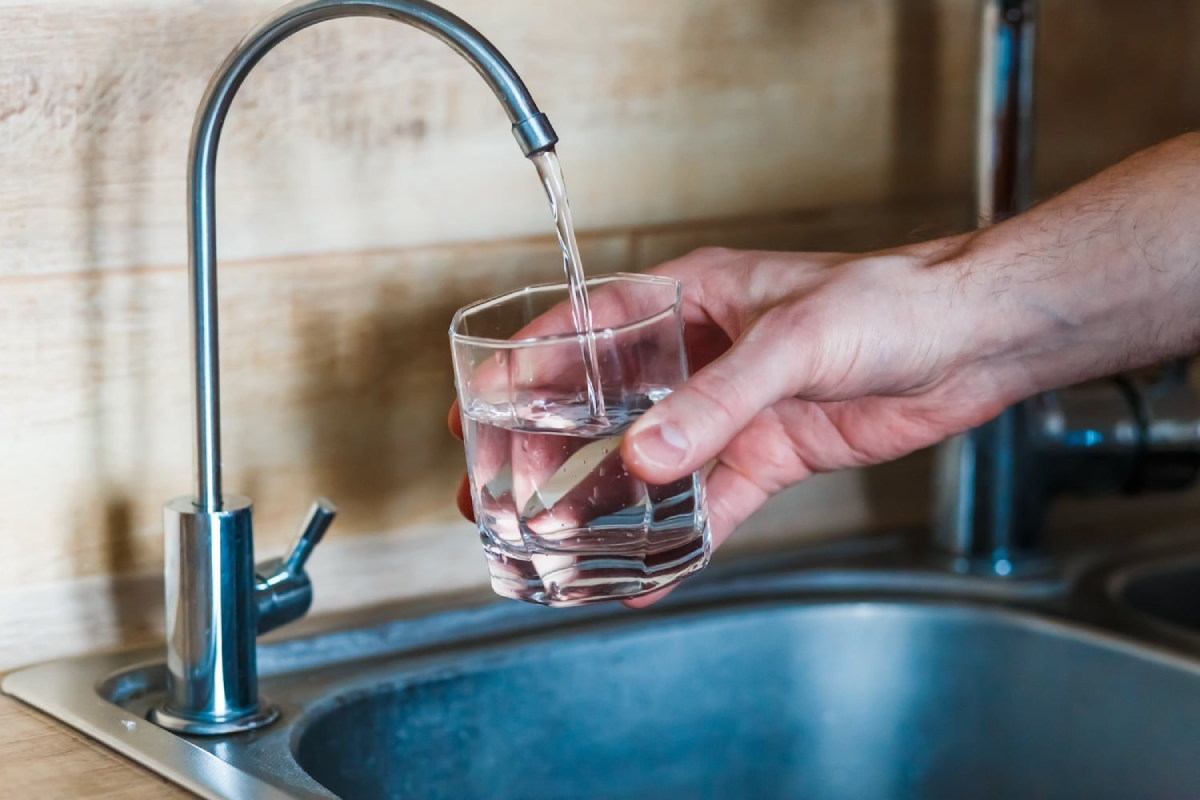
Most of us assume that water coming from our faucets is clean, but in many regions the ground beneath our homes holds natural uranium and thorium. The decay of these elements releases radon, a radioactive gas that can dissolve in groundwater.
When a well or a municipal source supplies water that contains radon, the gas can bubble into the air when pipes are turned on, showers are run, or dishes are washed.
If radon concentrations are high, homeowners face an increased risk of lung cancer – the leading cause of cancer death from an inhaled carcinogen. Because ingestion of radon is less dangerous than respiration, the main source of exposure is airborne radon that escapes from water, especially in homes that rely on private wells.
The only way to protect your family is to do radon water testing. Once you know the numbers, you can decide whether a cheap notebook kit or a professional package is needed and then deploy a mitigation plan that keeps your indoor air safe and your plumbing clean.
Table of Contents
The Science of Radon in Water
Radon is a colorless, odorless, and tasteless gas that enters water through filtration or dissolution. In groundwater, where concentrations can reach over 10,000 picocuries per liter (pCi/L), radon stays in the liquid until it finds an opening in the plumbing system.
The 2013 EPA standard for safe levels of radon in potable water is 4 pCi/L. Above this threshold, each 1,000 pCi/L increase creates an estimated one‑percent rise in lung‑cancer risk for dwellers of that house. Because radon in water can easily pop out into the air, it is one of the most significant contributors to indoor radon levels.
While the water itself is harmless to drink, it feeds your family’s breathing apparatus – showers, kitchen sinks, dehumidifiers, and even laundry lines. Testing domestic well water therefore catches not only the risk to the immediate users but also the broader risk of radon exposure in the whole household.
Health Impact
The Billingsley Institute and the U.S. Environmental Protection Agency estimate that radon in well water causes a significant portion of the 20,000 lung‑cancer deaths reported annually.
In addition to the respiratory hazard, radon releases form the same set of decay products as radon in the air, but they generally remain in the water unless the water is heated or aerated.
If a home’s plumbing fixtures allow any part of the water to be exposed to a metal or plastic surface that cracks, radon will escape. The accumulated inhaled radon can then linger for hours as it enters the living space, raising the indoor concentration.
Evidence shows that even brief periods of exposure to radon from water can alter DNA. Over the course of a lifetime, the cumulative dose from both water and air radon may increase the likelihood of developing lung cancer by as much as 0.5 percent per million persons.
The single most powerful way to eliminate that risk is to reduce the radon concentration in the water through appropriate testing and mitigation.
When to Test
When you first install a well, it is common practice in most states to perform a radon screening. However, radon can enter a well even years after installation due to changes in gravel depth, seismic activity, or land‑use changes.
Key reasons to do testing well water for radon include:
- Homes built before 1990 that did not include radon detection vents or drainage systems.
- Homeowners who have added a new well, or who add a second well on the property.
- Residents who notice metallic taste, discoloration, or unusual sweating on shower walls, all of which can hint at deteriorating water quality.
- Families who are planning a radon‑resistant new construction build and want to confirm room‑to‑room radon infiltration will stay low.
If you have one of these scenarios, you should call 414‑455‑7279 for expert help immediately.
Home Testing Kits
The market has a growing spectrum of self‑service kits that perform testing well water for radon accurately and at a price point under $80. Budget consumers can get a simple, single‑use kit that includes a clear container and all the instructions you need. The process is straightforward:
- Clean the faucet and open the water tap for 2 minutes to stabilize pressure.
- Take a 100‑mL sample in a clean bottle.
- Label the bottle with your location details.
- Use the pre‑paid return envelope or drop the kit at a local drop‑box.
Reputable kits include those from RTCA and RAD‑H2O, and the price does not include postage. Once the lab receives your sample, they employ liquid scintillation counting to determine the radon concentration. Reports usually come back within a week to ten days, and the price for the entire process is $25 to $75, depending on the kit.
The widespread availability of such kits gives homeowners a low bar for entry into radon water testing.
Step by Step: How to Use a Home Kit
Even though the kit itself is simple, proper collection ensures accurate readings. Focus on these four “steps” and you’ll avoid a common mistake that skews your numbers.
• Prep the tap – before you turn on the water, let it run for at least two minutes so that the pressure stabilizes.
• Collect the liquid – fill the bottle up to the mark, then secure the cap tightly. Avoid touching the cap or lid with your fingers.
• Seal the sample – the kit’s container is designed to prevent radon in the bottle from dispersing.
• Return quickly – the more stable the sample remains, the more accurate the report. Use the pre‑paid envelope or a local drop‑box if offered.
An accurate, on‑site sample like this eliminates the risk of errors that happen when people use old or damaged bottles.
Professional Testing Methods
When a home is large, has a complex plumbing line, or you are building a new house, you may want a more precise picture. Professionals certify the entire water stream and multiply the density of the sample over a 48‑hour period.
Professional teams employ:
- Continuous flow probes that sample literally every drop as it travels from pump to faucet.
- Radon‑transfer devices that concurrently record how often radon bubbles out of water under dynamic pressures.
- A network of reference standards that verifies lead‑inserting conditions for each sample.
The rigorous test typically costs between $150 and $500 depending on the pump capacity. It often includes an on‑site engineer who explains your water’s dynamics. The spread of insight is valued for home improvements, for building code compliance, or if you plan radon water testing in a high‑risk zone.
Reading Radon Results
When the laboratory report arrives, it will contain:
- Overall concentration in picocuries per liter.
- A break‑down of concentration by pump cycle if the test includes multi‑sample data.
- A risk rating that aligns with either the EPA or a local state recommendation.
In general, a result under 4 pCi/L is the threshold for concern. Anything above that number calls for additional action.
Suppose you find a reading of 1,200 pCi/L. That would mean the radon in your water will be contributing about 120 pCi/L into the household air over the next year. If you can lower the water concentration through a proper filtration system, you reduce the indoor radon risk by approximately 95 percent.
The lab will always give a recommendation: either simply “install a carbon filter” or “swap the pumped water stage with a vented, air‑exposed unit.”
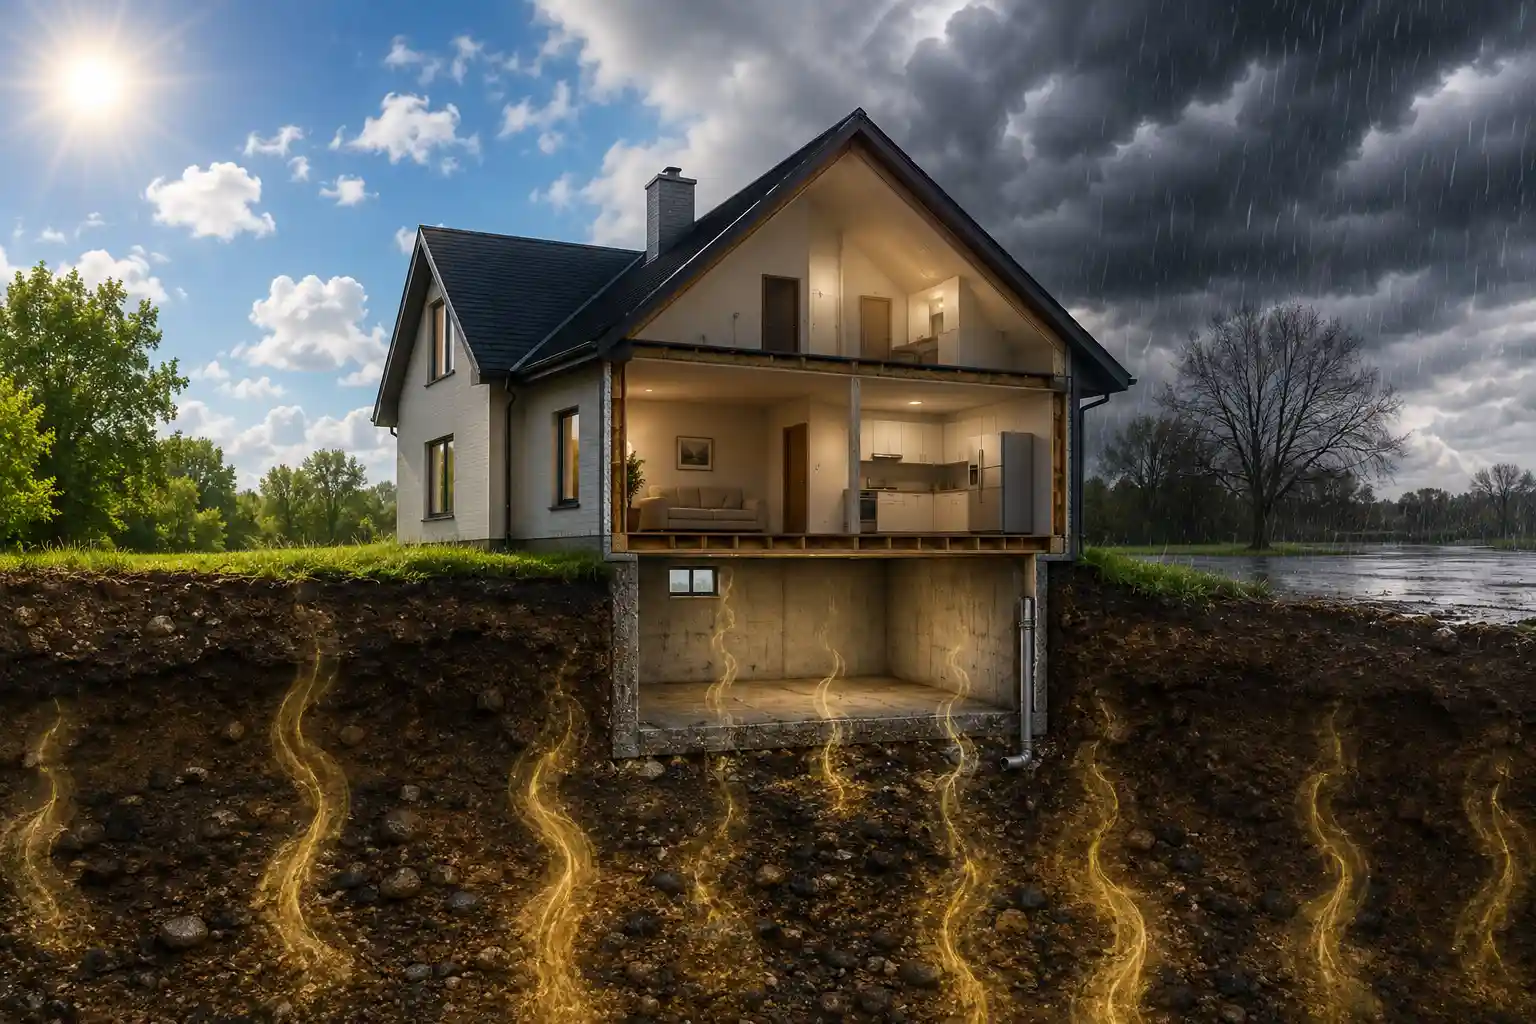
Radon Resistant New Construction
Builders that prioritize family well‑being now commonly design with radon exposure mitigation in mind. The goals for radon resistant new construction are 3‑fold:
- Prevent soil gas entry – a lead‑topped, vented slab that limits radon migration from surrounding soils.
- Seal the dwelling envelope – vapor‑barriers that stop radon‑containing air from entering spaces behind walls, floors, or ceilings.
- Pressure the space – either a continuous fan or a negative pressure system that pushes radon‑heavy air out by keeping the interior slightly more positive than the exterior.
A well‑insulated wall system, an engineered crawl‑space seal, and a small radon vent are the three most common features in a radon‑ready home. Properties built after 2017 in high‑radon counties often show the presence of a radon suppression pump that goes in the water line adjacent to the primary equalizer.
If your family wants a new build that is truly radon‑resistant, ask the builder to provide a certified report that the frame includes an airtight envelope and a radon vent plan.
Mitigation Options for Existing Wells
A well that tests higher than 4 pCi/L can be controlled by the following systems, each with distinct cost and maintenance levels.
• Granular activated carbon filters – Cheaper at $200–$400 upfront. They capture radon molecules when water passes through a bed of high‑pore carbon.
• Reverse osmosis units – Expensive at $600–$1,200 up front, but they provide a reliable 90‑99 percent reduction in radon concentration.
• Aeration systems – Commercial aerators are around $1,500–$3,000 on-site and require a 10‑to‑20 percent water pressure drop.
• Pressurized vent tubes – These attach to the system near the pump and use a small fan to force radon out before it reaches plumbing.
The most economical and easy to maintain is a granular activated carbon filter, because it does not need electricity and induces minimal pressure change.
Cost Estimation for Testing and Mitigation
| Service | Cost Range |
|---|---|
| Home kit test | $25–$75 |
| Professional analysis | $150–$500 |
| Granular activated carbon | $200–$400 |
| Reverse osmosis | $600–$1,200 |
| Aeration | $1,500–$3,000 |
| Annual service | $100–$300 |
These figures are typical for the Midwest and Southern United States but they can fluctuate by region, sample lab, and model size. If you purchase a professional package, you will also pay a $50–$100 for transportation and a $20–$30 sign‑off fee.
If you are planning a new build, many builders use a radon‑dependent contractor who usually incorporates the mitigation into the wall schedule. That approach can bring the total cost into a similar range as the well‑filter alternative, but the advantage is a vanishing of radon even when the well develops over time.
Quick Action Steps Checklist
• Step one – Do a quick search for the county’s radon map.
• Step two – If you own a well, order a home kit and send the sample.
• Step three – Receive the report and see if it is above 4 pCi/L.
• Step four – If it is, hire a certified contractor and pick one mitigation method.
• Step five – Inspect the filtration unit upkeep.
• Step six – Remake the test after installing the filter.
Following this six‑point routine keeps radon levels down for the rest of your life.
Frequently Asked Questions
How long does a home kit test take from sampling to results?
The lab generally returns a report in 7 to 10 days. The kit’s instructions include the full protocol for collecting the sample so that the analysis is accurate.
Is it possible to test the same water for two separate days to confirm results?
Yes. If the first report shows a high number, many labs offer a second single‑sample test at no extra cost. Comparisons can confirm if the initial reading was an outlier.
Can a reverse osmosis system be added to an existing well to reduce radon levels?
It will effectively reduce radon by 90 to 99 percent but it also removes many beneficial minerals and requires regular filter changes.
What is the threshold for a radon‑resistant new construction build?
The EPA sets a target indoor air radon of less than 4 pCi/L. A construction must therefore have a negative pressure ventilation unit, a sealed sub‑slab, and a vapor barrier in the crawl space.
How long does a radon mitigation system last before needing replacement?
Carbon filters need changing every 6 to 12 months, reverse osmosis membranes every 2 to 4 years, and aeration fans have a lifespan of about 15 years if maintained.
Conclusion
Radon in well water may be invisible, but its health impact is tangible. Homeowners with private wells, older homes, or families planning new construction must incorporate radon water testing into their safety plans.
The science is straightforward: radon exits water easily and quickly turns into airborne radioactivity. Testing produces a recipe for action: an inexpensive filter for low numbers or a comprehensive mitigation for higher concentrations.
By following the step‑by‑step guide, reviewing good cost estimates, and understanding the special features that qualify a home as radon resistant new construction, you gain peace of mind that your indoor air remains healthy.
If you want a professional assessment or would like a quote for a radon‑removal setup, contact us today. We will send a free on‑site evaluation, walk you through the sample procedure, and provide a price that keeps your home safe without breaking the bank.