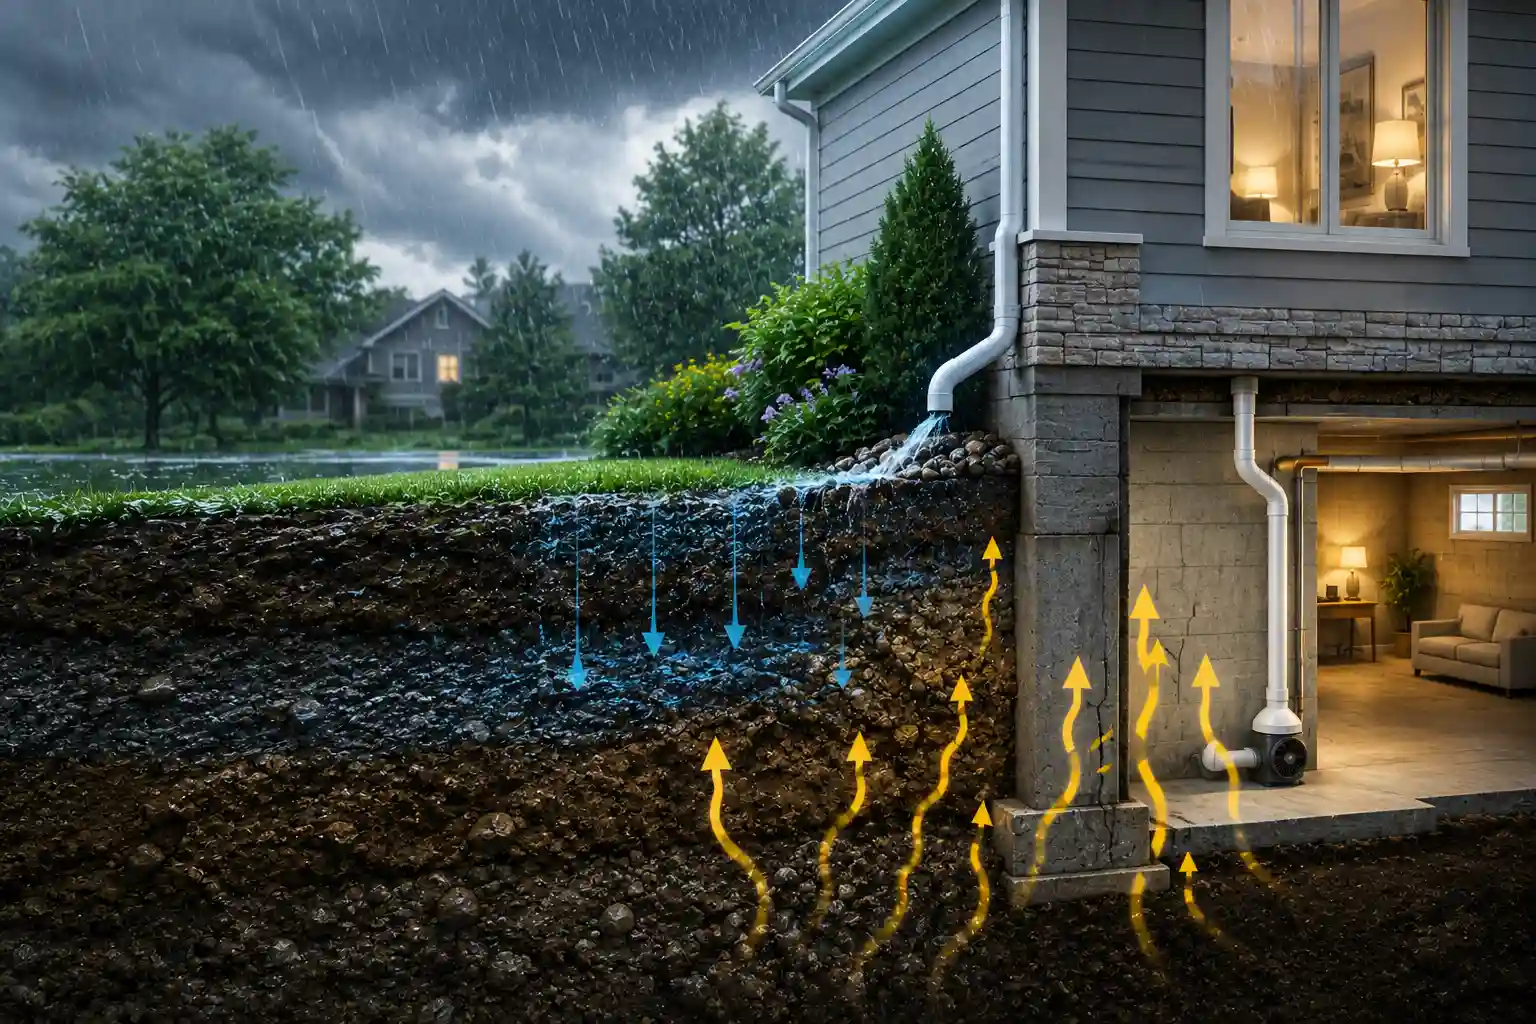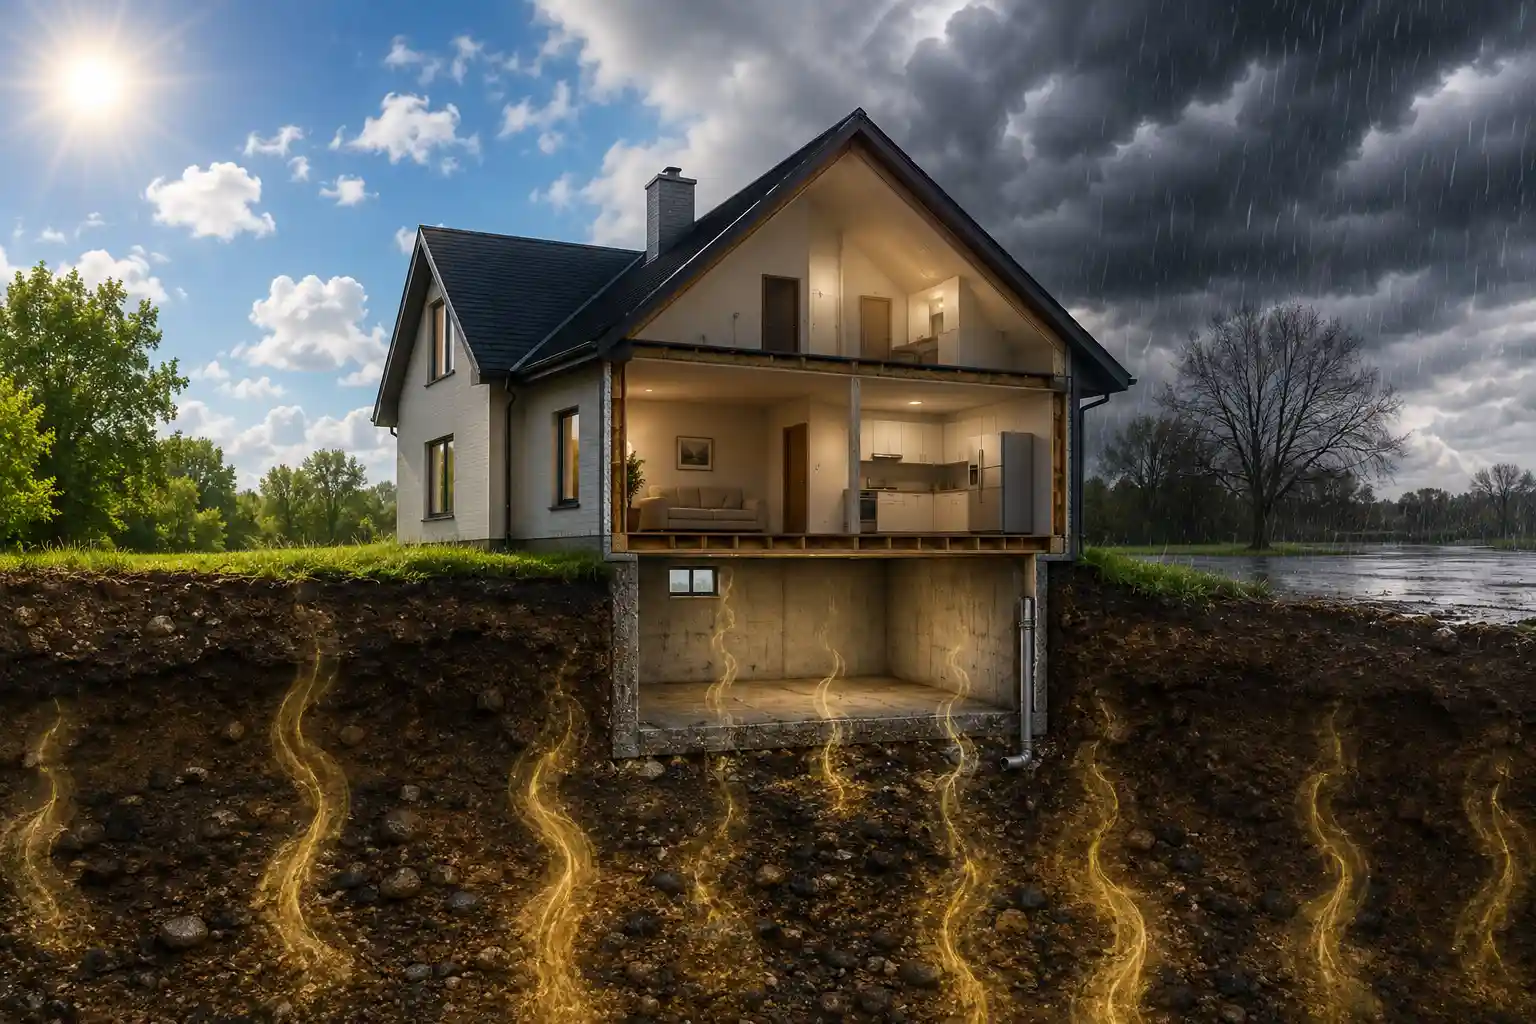

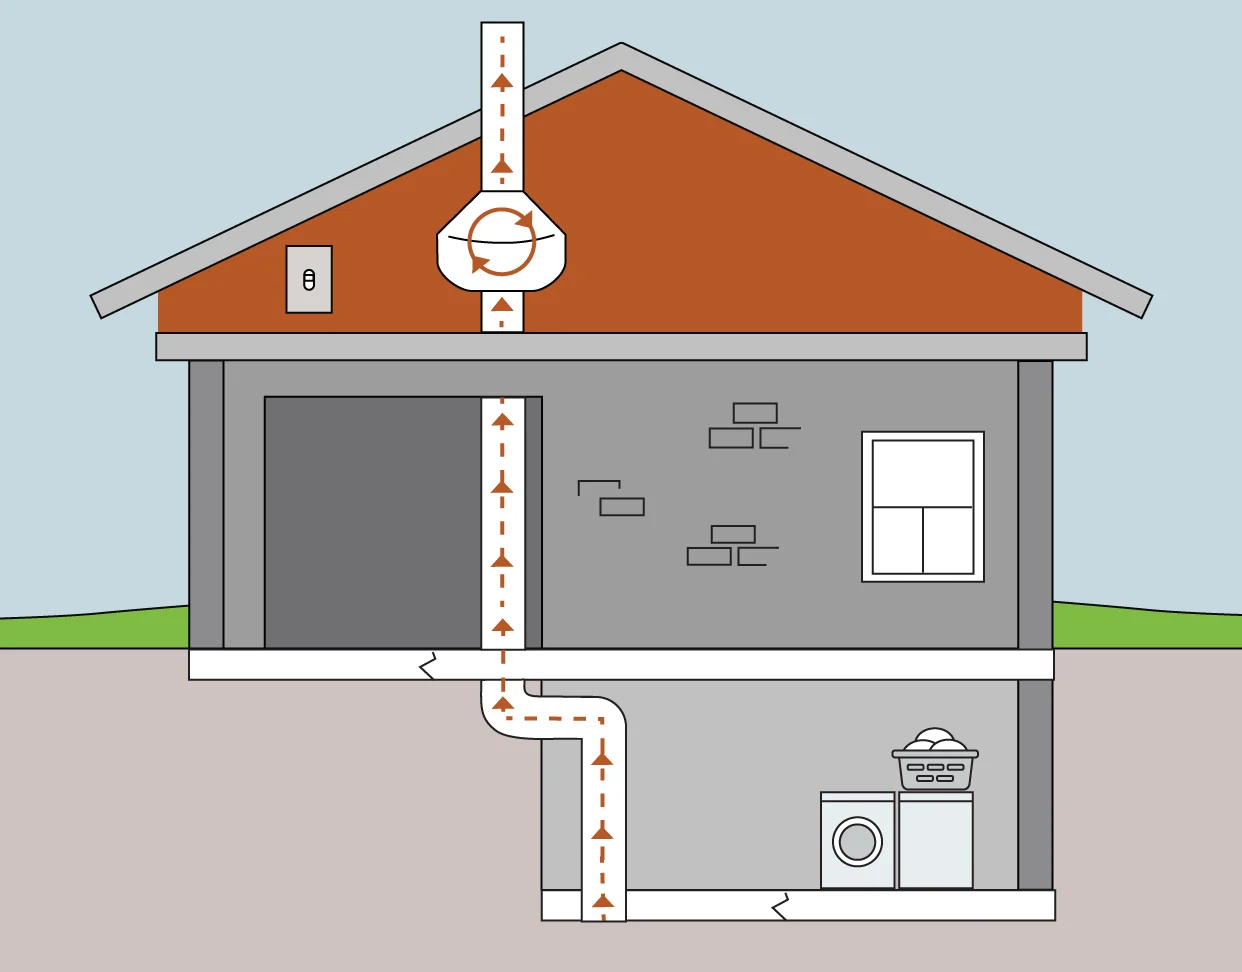
Radon fan installation is the process of installing an active soil depressurization system designed to draw radon gas from beneath a home’s foundation and exhaust it safely outside. This system typically reduces indoor radon levels by up to 99%.
Table of Contents
The Installation Process of Radon Fan Installation
Radon fan installation follows a structured process designed to safely redirect radon gas from beneath the home and release it outdoors before it enters living spaces. When installed correctly the system begins reducing radon levels almost immediately.
Step 1: Radon Testing and System Planning
The process starts with professional radon testing to confirm elevated levels. The home’s foundation type basement layout soil conditions and existing entry points are evaluated to design the correct system.
Step 2: Creating the Suction Point
A small hole is drilled through the basement slab or crawl space floor. Soil beneath the concrete is excavated to create a suction pit that allows radon gas to move freely toward the vent pipe.
Step 3: Installing Vent Piping
PVC piping is connected to the suction point and routed vertically through the home or along the exterior wall. All pipe joints are sealed to prevent radon leakage and maintain proper airflow.
Step 4: Mounting the Radon Fan
The radon fan is installed inline with the vent pipe outside the living space. This may be on an exterior wall in the attic or in a garage. A basement radon fan system uses the same approach even though the fan itself is not located inside the basement air.
Step 5: Electrical Connection and Sealing
The fan is hardwired or plugged into a dedicated outlet according to electrical code. Foundation cracks sump lids and expansion joints are sealed to improve system efficiency.
Step 6: System Activation and Testing
Once activated airflow and suction are measured. A manometer is installed to indicate system operation. Follow up testing confirms that radon fan installation has successfully reduced radon levels.
Step 7: Final Verification and Homeowner Guidance
Homeowners are shown how to check the system and understand normal operation. Most systems run continuously with minimal maintenance and low energy use.
This step by step process ensures that a radon fan in basement systems works efficiently delivering long term protection and reliable radon reduction.
Proper Fan and Pipe Placement
Correct fan and pipe placement is critical to the effectiveness of radon fan installation. Even a high quality fan will fail to reduce radon levels if it is installed in the wrong location or connected to poorly routed piping.
Where a Radon Fan Should Be Installed
A radon fan must always be installed outside of living spaces to prevent radon gas from re entering the home. Acceptable fan locations include:
- Exterior walls mounted vertically along the vent pipe
- Attic spaces above sealed piping
- Garages that are fully isolated from indoor living areas
A basement radon fan system does not place the fan inside the basement air. Instead the fan connects to a suction point beneath the slab and operates remotely through the vent pipe.
Where Radon Vent Pipes Should Run
Radon vent piping carries gas from beneath the foundation to a safe discharge point. Pipes should be installed with the following placement rules:
- Routed vertically whenever possible to maintain strong airflow
- Sealed tightly at all joints to prevent leaks
- Positioned away from windows doors and air intakes
- Extended above the roofline for proper dispersion
Exterior routed pipes are commonly used when interior routing is not feasible and must be securely fastened and weather resistant.
Basement Suction Point Placement
The suction point location determines how effectively radon gas is collected. Proper placement involves:
- Drilling through the basement slab at a central location
- Avoiding corners where airflow is restricted
- Creating a cavity beneath the slab to allow gas movement
This is why the system is often referred to as a radon fan in basement setup, even though the fan itself remains outside living areas.
Why Proper Placement Matters
Incorrect fan or pipe placement can cause poor suction, uneven pressure fields and incomplete radon reduction. Proper placement ensures:
- Faster radon level reduction
- Lower energy usage
- Quieter system operation
- Long term system reliability
Professional radon fan installation ensures that fan sizing, pipe routing and placement meet performance and safety standards.
Placement Mistakes to Avoid
- Installing the fan inside finished living spaces
- Terminating pipes near windows or roof overhangs
- Using excessive horizontal pipe runs
- Failing to seal pipe joints and foundation openings
Avoiding these mistakes is essential for achieving consistent radon reduction and system longevity.
Proper fan and pipe placement transforms radon fan installation from a simple setup into a highly effective long term solution for safer indoor air quality.
What to Expect After
After radon fan installation, most homeowners notice improvements quickly. The system begins working immediately and continues operating around the clock to keep radon levels low and stable.
Immediate Changes After Installation
Radon levels often drop significantly within the first 24-48 hours. Follow-up testing usually confirms that levels fall below recommended safety limits once the system is running continuously.
You may also notice a manometer installed on the vent pipe. This device shows that the system is creating proper suction and is an important indicator that the radon fan installation is working correctly.
Noise and System Operation
A properly installed system runs quietly. Most radon fans produce a soft hum that is usually not noticeable indoors. Exterior mounted fans are designed to minimize vibration and sound.
The fan runs continuously and should not be turned off. Continuous operation is essential for maintaining low radon levels and preventing gas from accumulating again.
Energy Use and Utility Costs
Radon fans are energy efficient. Most systems use roughly the same amount of electricity as a standard household light bulb. The impact on monthly utility costs is typically minimal.
Because the system draws air from beneath the foundation rather than conditioned indoor air it does not significantly affect heating or cooling efficiency.
Ongoing Monitoring and Maintenance
After installation periodic monitoring is recommended. Long term radon tests provide the most accurate confirmation of continued system performance.
Radon fans typically last five to ten years. Signs that a fan may need attention include unusual noise vibration or a flat manometer reading.
Living With a Radon Fan System
Once installed the system requires little interaction. Homeowners should occasionally check the manometer and ensure the vent pipe remains unobstructed.
When maintained properly radon fan installation provides long term protection peace of mind and a safer indoor environment.
If you have questions or notice changes in system performance contacting a radon professional promptly ensures continued effectiveness.
FAQs
Is a radon fan safe to run all the time?
Yes radon fans are designed for continuous operation. They are energy efficient and built to run twenty four hours a day without overheating or posing safety risks.
Can I turn off my radon fan occasionally?
Turning off the fan allows radon to accumulate again. Continuous operation is essential to maintain low radon levels and protect indoor air quality.
Does radon fan installation increase heating or cooling costs?
The impact on energy costs is minimal. Because the system draws air from beneath the slab rather than conditioned indoor air it does not significantly affect heating or cooling efficiency.
How do I know if my radon fan is working?
A manometer installed on the pipe shows pressure differences indicating airflow. If the liquid levels are even or unchanged the fan may not be operating correctly and should be checked.
Is a basement radon fan different from other systems?
The concept is the same but placement and suction design are adapted to basement foundations. A basement radon fan focuses on soil gas beneath the slab rather than crawl space air.
Conclusion
Installing a radon fan is one of the most effective steps you can take to protect your home and health. From understanding placement to knowing what installation involves the process is straightforward when handled correctly.
A well-designed system works quietly in the background, continuously reducing radon levels and providing peace of mind. If your test results show elevated radon, do not delay; professional radon fan installation can make your home safer within days.