
Radon testing is the core method for measuring the concentration of radon, a naturally occurring radioactive gas, inside any indoor space. By checking radon levels, homeowners can assess whether further action is needed to protect health.
If you have ever heard the phrase “radon testing” but have never walked through a test kit, you are not alone. Many property owners assume that if their home feels clean and smells fresh, it is free of danger.
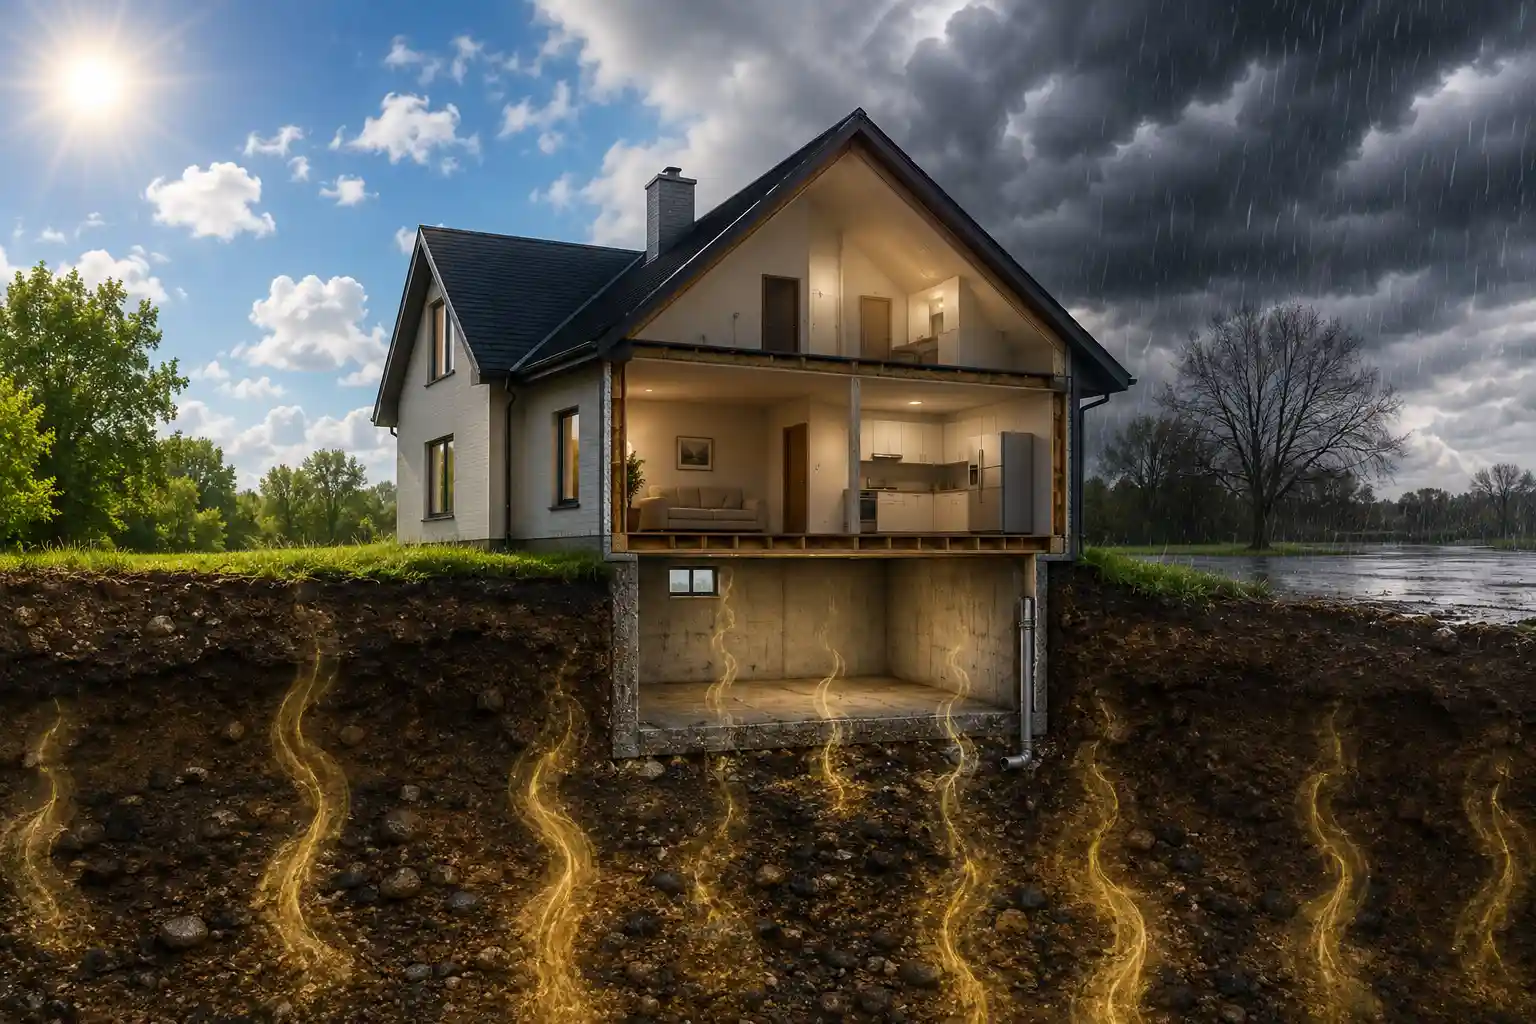
However, radon is invisible, odorless, and can quietly accumulate throughout a house, especially in basements or lower floors. Exposure over time can increase the risk of lung cancer, and that risk is entirely avoidable once radon levels are monitored.
Finding out “what is radon testing” is the first step toward making a safe living environment. In the sections below we cover the science of radon, why testing matters, how to perform a test, and cost and mitigation options. By the end, you will know exactly what to do if results show a problem and how to keep the family safe.
Table of Contents
What Is Radon?
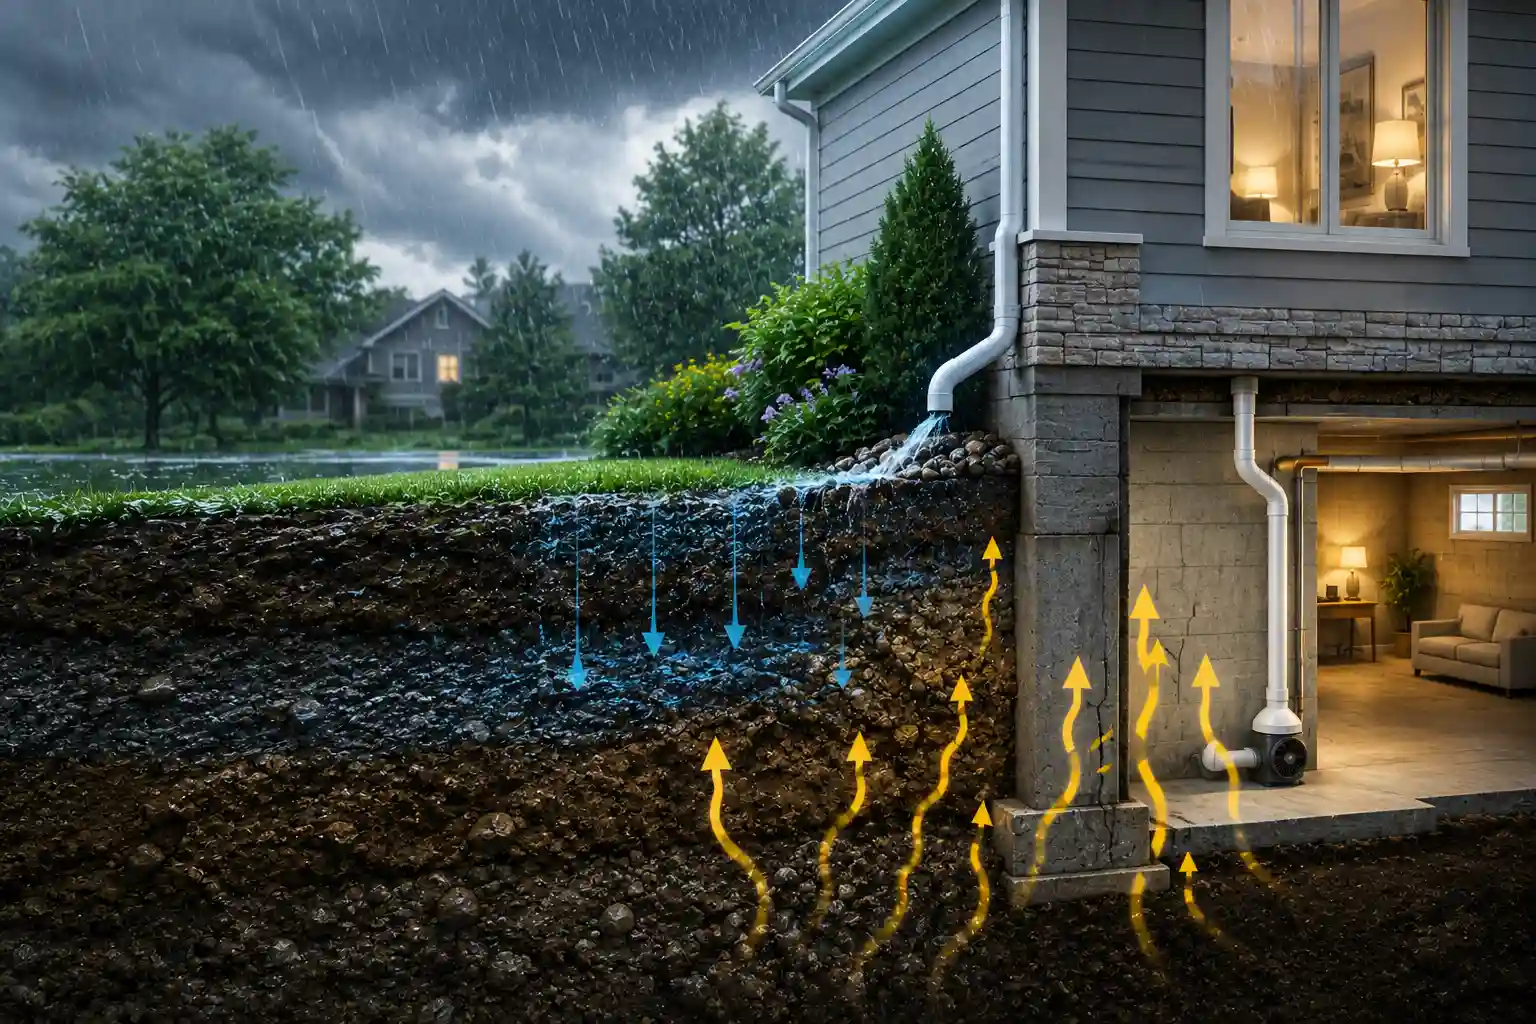
Radon is a colorless, tasteless gas that originates from the decay of uranium found in soil, rock, and water. When this decay occurs underground, radon releases tiny particles that can travel through the air and, if the building is sealed against them, enter indoor spaces.
Radon is the single biggest natural cause of lung cancer among non‑smokers, according to public health authorities.
Because radon is a naturally occurring element, everyone lives in its territory. What sets it apart is the concentration that enters a home and how long the people inside breathe it.
Health Impact of Radon
Research has shown a clear link between radon exposure and lung cancer. Even short periods of exposure can be harmful, but the risk escalates the longer the inhalation continues. Health officials agree that any radon level over the safety threshold should be addressed immediately.
Health symptoms of radon are not overt; you can be inhaling the gas for years without knowing. That is why a proactive plan called radon testing is critical for new buyers, renters, and homeowners who may have upgraded or renovated.
Why Testing Matters
Home buyers typically consider the same basic checks as you would when buying any property: house inspector, roofing, plumbing, HVAC, etc. Testing for radon is a vital part that is often overlooked.
Reasons to test:
- Compliance: Many regions set legal limits for indoor radon. Knowing your level ensures you stay compliant.
- Protection: Early detection allows quick mitigation, preventing health risks.
- Property Value: Homes proven radon‑free are more attractive to buyers.
Skipping radon testing can leave your family exposed to a silent threat that is easy to control with the right information.
What Is Radon Testing?
What is radon testing is simply measuring how much radon is present in the indoor air. It involves placing a detection device in a strategic location for a specified period and then sending the device to a lab for analysis.
Short‑term tests last a few days and provide a snapshot. Long‑term tests remain in place for four to 12 weeks, giving a more accurate overall average that accounts for seasonal changes.
The lab reports concentration in picocuries per liter (pCi/L). A value of 4 or above triggers a mitigation recommendation.
Types of Radon Tests
| Test Duration | Goal | Typical Cost | When to Use |
|---|---|---|---|
| Short term | Quick snap shot | $30 – $70 | When you need quick results or a baseline |
| Long term | Reliable average | $70 – $100 | If you want a definitive picture before large decisions like a sale or renovation |
| Continuous | Periodic monitoring | $200 – $500 | For ongoing safety in high‑risk zones |
The table above summarizes the key choices in plain language.
How to Perform a Radon Test
- Choose the test type based on how quickly you need results.
- Select the location: your lowest level of living space most often a basement or first‑floor hallway.
- Place the detector: keep the device at eye or chest height, away from heat sources, vents, or windows.
- Seal the room: close windows, doors, and vents as much as possible during the test period.
- Leave it in place: do not move the device during the test.
- Seal the test kit: once the period is over, close the seal to preserve the sample integrity.
- Send it to the lab: follow the kit’s instructions for shipping.
If you want a professional installing or interpreting a test, you can call 414 455 7279 to schedule a service.
For better understanding have look on ” How Does Radon Testing Work “.
Interpreting the Results
- Below 4 pCi/L – Safe for most families.
- Exactly 4 pCi/L – On the safety threshold; may want to retest or consider mitigation if eyes on 4 or above.
- Above 4 pCi/L – Mitigation is recommended.
A single test may not capture transient spikes. If you receive a modestly high reading, performing a second long‑term test can confirm the result.
Mitigation Methods
When radon levels exceed the safety limit, a mitigation system can lower concentration to safe levels. The most common systems are:
- Sub slab depressurization – a vent pipe system under the slab that pulls radon from beneath the foundation and vents it outside.
- Whole house ventilation – adding a fan and exhaust system to keep radon build-up low.
- Sealing cracks – closing foundation cracks, seams, and gaps to reduce radon entry.
Each system carries its own cost: general rule-of-thumb is $1,500 – $4,000, but site‑specific conditions can shift the estimate. A local professional can give a detailed quote.
Radon Resistant New Construction
If you are building a new home, incorporating radon‑resistant features can reduce future risk. These include:
- Continuous vapor barrier – a plastic film over the soil that stops radon from moving upward.
- Properly sealed crawl space – or design the foundation to allow air exchange while preventing radon entry.
- Ventilated attic – ensures that radon does not accumulate below living spaces.
Calling a qualified builder and inspecting their radon‑resistant design plans is a wise safety move.
Radon System Inspection
For those who already have a mitigation system, an annual inspection keeps the system operating effectively. Inspection services typically involve:
- Checking the sealed status of vent pipes.
- Confirming that the fan or pump is running.
- Testing the system’s output for any leaks or failures.
Midyear testing in higher‑risk conditions is also recommended to verify continued safety.
Pricing Quotes
Below is a snapshot of typical costs you might encounter.
| Service | Approximate Income | Notes |
|---|---|---|
| Short term test kit | $30 – $70 | DIY kit, quick results |
| Long term test kit | $70 – $100 | Reliable over months |
| Radon mitigation system | $1,500 – $4,000 | Installation cost |
| Annual system inspection | $150 – $300 | Maintenance fee |
| Continuous monitoring service | $10 – $30 per month | Ongoing updates |
Keep in mind that local rates vary. For an accurate estimate, call 414 455 7279 and read out about “How Much Does Radon Testing Cost“.
Frequently Asked Questions
What is radon testing?
It is a process of measuring radon concentration in indoor air, typically by using a short or long term device.
How does radon testing work?
A detection kit is placed at a strategic location, left for a period, sealed, and then sent to a lab for analysis.
What is the threshold for action?
A reading of 4 picocuries per litter or higher is the commonly accepted safety limit.
Should I test every year?
Annual testing is wise, especially after major renovations, foundation work, or if you live in a high‑radon area.
Is radon testing expensive?
Short term kits are inexpensive; mitigation projects range from $1,500 to $4,000 depending on scope.
Conclusion
What is radon testing may sound like a simple question, but the answer guides a crucial health decision. By understanding how radon can infiltrate homes, why testing matters, and how to choose the right test and mitigation strategy, homeowners can protect themselves, their families, and their homes.
A quick call to 414 455 7279 can put you on the path to a radon‑free environment no dirty blood or dust on the floor is required.