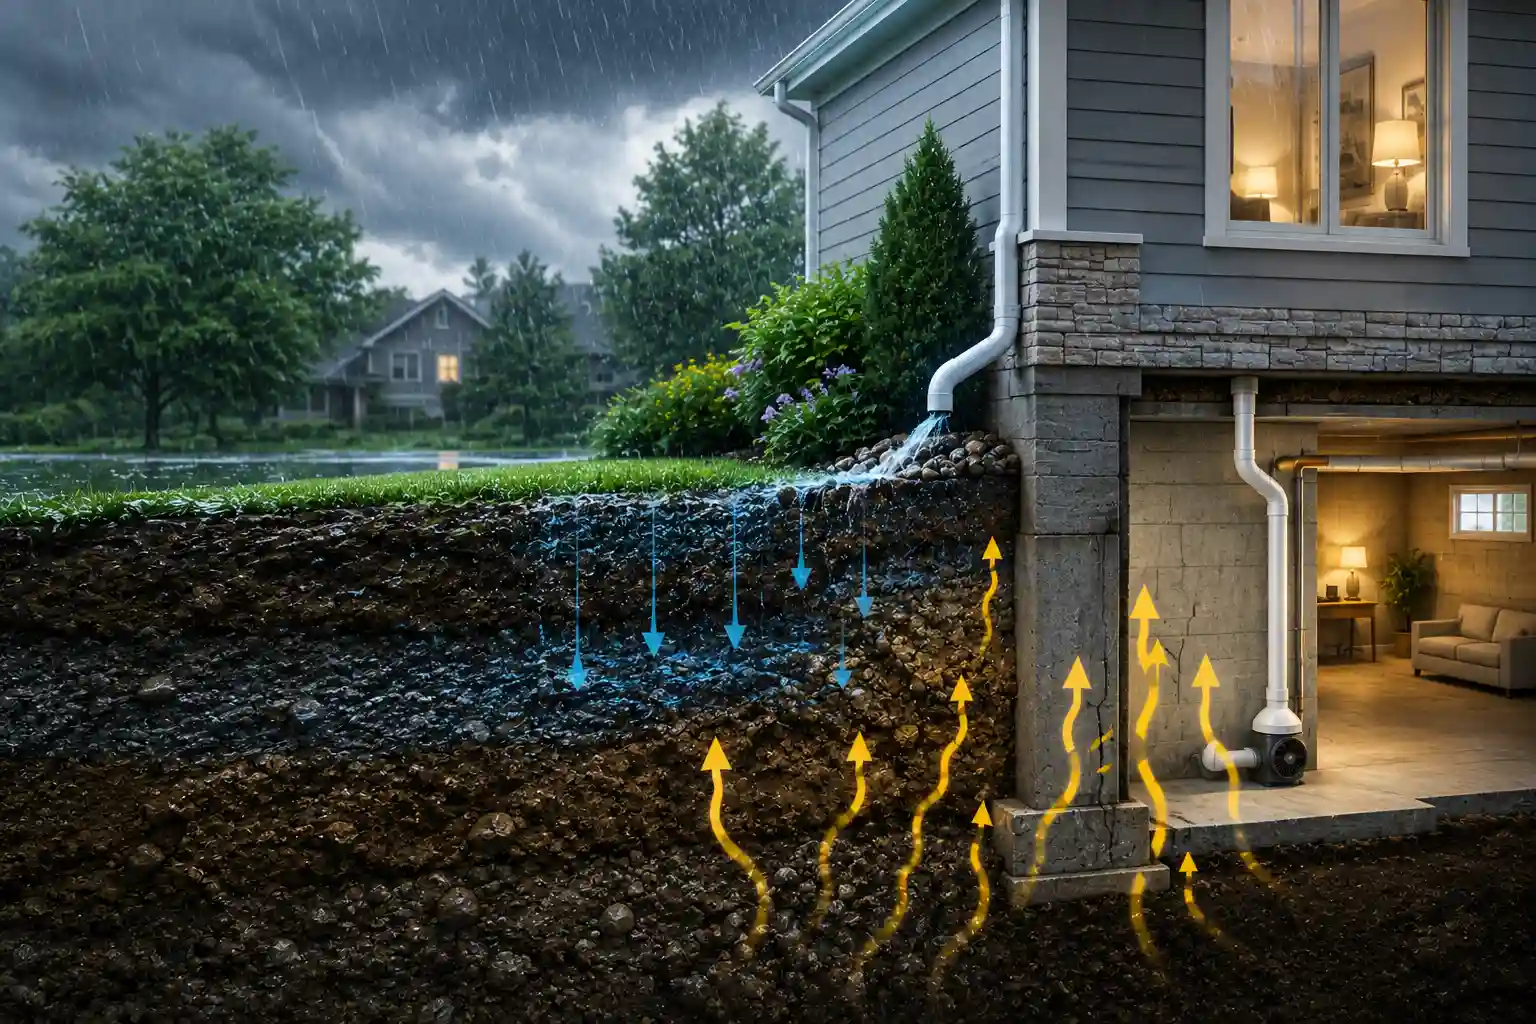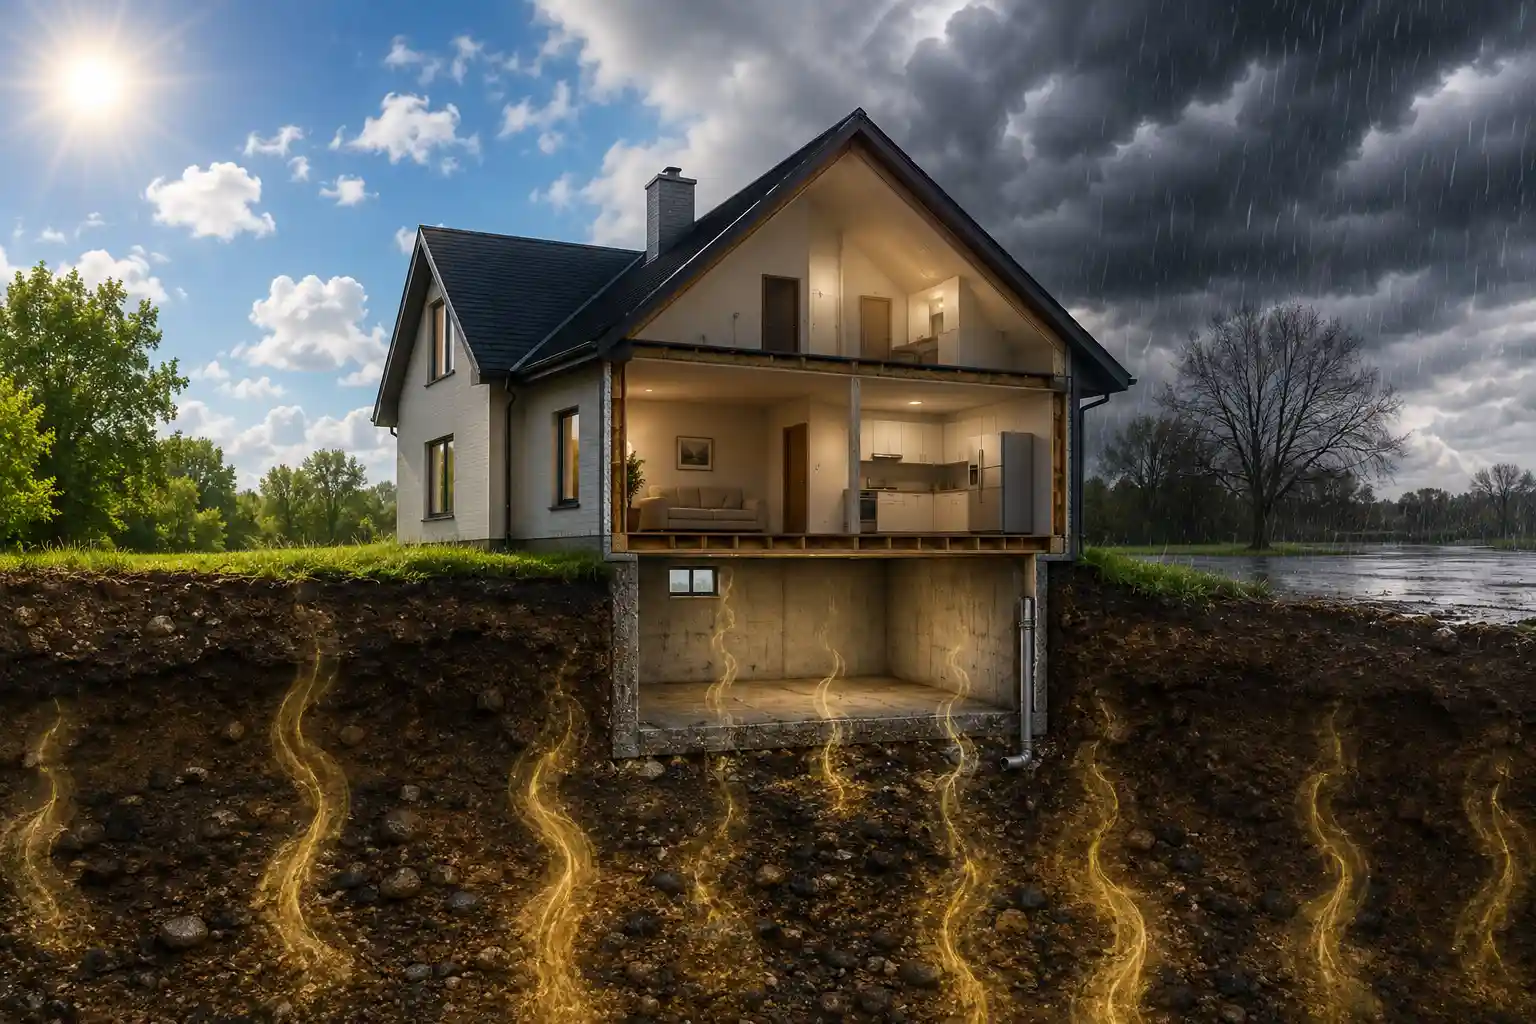

Radon is a radioactive gas that can seep into homes through cracks in foundations, floor slabs, and utility penetrations. Long‑term exposure raises lung‑cancer risk, making accurate measurement and effective control essential.
Below you’ll find DIY Radon Mitigation Does It Work, snippet‑ready guide that walks you through testing, deciding whether a do it yourself radon mitigation effort makes sense, budgeting, the full installation process, and the pitfalls you should avoid.
- Does it work? A correctly sized and sealed DIY radon mitigation system can lower indoor radon by 80‑90 % the same range as most professional installs.
- Cost: Kits and materials run $300 – $900; full professional jobs average $1,200 – $2,500.
- Installation time: 1‑2 weekends for a basic basement or slab‑on‑grade.
- Key risks: structural damage, electrical errors, inadequate suction, and non‑compliance with local codes.
- When to call a pro: complex foundations, required permits, or persistent high radon after a DIY fix.
Table of Contents
DIY Radon Mitigation Does It Work
Short answer: Yes if the system is correctly designed, installed, and maintained, a radon mitigation system DIY can achieve an 80‑90 % reduction, comparable to professional installations.
Why it works: Active soil depressurization (ASD) creates a pressure differential that pulls radon‑rich soil gas away from the foundation and vents it above the roofline. The physics are the same whether you buy a kit or hire a contractor; the difference lies in execution.
When it may fall short:
- Multi‑level basements, slab‑on‑grade with extensive cracks, or homes with concrete block walls often require custom suction points or multiple fans.
- Local building codes may demand a licensed installer, especially when electrical work is involved.
If your home has a simple basement or a single‑story slab, a DIY radon mitigation approach is usually feasible and cost‑effective.
How much will a DIY radon mitigation project cost?
Below is a price‑range table that summarizes the common items you’ll need. All figures are 2024 U.S. averages; actual prices can vary by region, brand, and bulk discounts.
| Item | DIY Cost Range | Professional Cost Range |
|---|---|---|
| Short‑term radon test kit | $12 – $20 | $15 – $30 (service fee) |
| Long‑term radon test kit | $20 – $40 | $30 – $60 (service fee) |
| 4‑inch PVC vent pipe (10 ft sections) | $30 – $80 | – |
| Radon fan (0.8‑1.5 CFM, corrosion‑resistant) | $150 – $300 | – |
| Fan mounting bracket, sealants, foam | $20 – $60 | – |
| Electrical wiring & conduit | $30 – $70 | $80 – $150 |
| Total DIY kit | $300 – $900 | – |
| Full professional installation | – | $1,200 – $2,500 |
| Follow‑up Radon System Inspection | – | $150 – $300 |
| Radon resistant new construction add‑on | – | $500 – $1,100 |
Bottom line: If you’re comfortable with basic carpentry and electrical work, you can save $800 – $1,600 by doing it yourself.
Quick‑Start Checklist – What You Need Before You Begin
| Item | Why It Matters |
|---|---|
| Certified radon testing kit (short‑term) | Confirms you actually need a mitigation system. |
| 4‑inch PVC pipe, enough to reach the exterior wall | Forms the vent that carries radon out. |
| Inline radon fan (rated for continuous low‑speed operation) | Generates the suction needed for depressurization. |
| Weather‑proof fan housing and mounting bracket | Prevents water intrusion and protects the fan. |
| Silicone sealant, expanding foam, concrete sealant | Ensures airtight connections, stops re‑entry. |
| Electrical wire (12 AWG) + junction box + conduit | Meets code and powers the fan safely. |
| Basic tools: drill, masonry bit, pipe cutter, level | Allows you to cut, fit, and align components correctly. |
| Phone for professional help if required: 414‑455‑7279 | Quick access to a licensed contractor for verification. |
Step‑by‑Step DIY radon mitigation Installation
Note: Keep a copy of this guide handy while you work. Follow each step in order and double‑check every seal before moving on.
Verify the Need with Accurate radon testing
- Place a short‑term test in the lowest occupied area (basement or main floor).
- Close windows, doors, and HVAC exhaust fans for the test period (48‑72 hrs).
- Record the result. If it reads >4 pCi/L, you need mitigation.
Locate the Suction Point
- Basement: Choose a spot near the center of the slab, clear of interior walls.
- Slab‑on‑grade: Drill a 4‑inch diameter hole through the concrete, extending 12‑18 inches into the soil. Use a hammer drill with a masonry core bit.
Install the Vent Pipe
- Insert the 4‑inch PVC pipe into the hole.
- Grade the pipe upward at ≥1 inch per foot toward the exterior wall to aid natural draft.
- Seal the pipe around the concrete with silicone caulk and expanding foam for an airtight fit.
Mount the Radon Fan
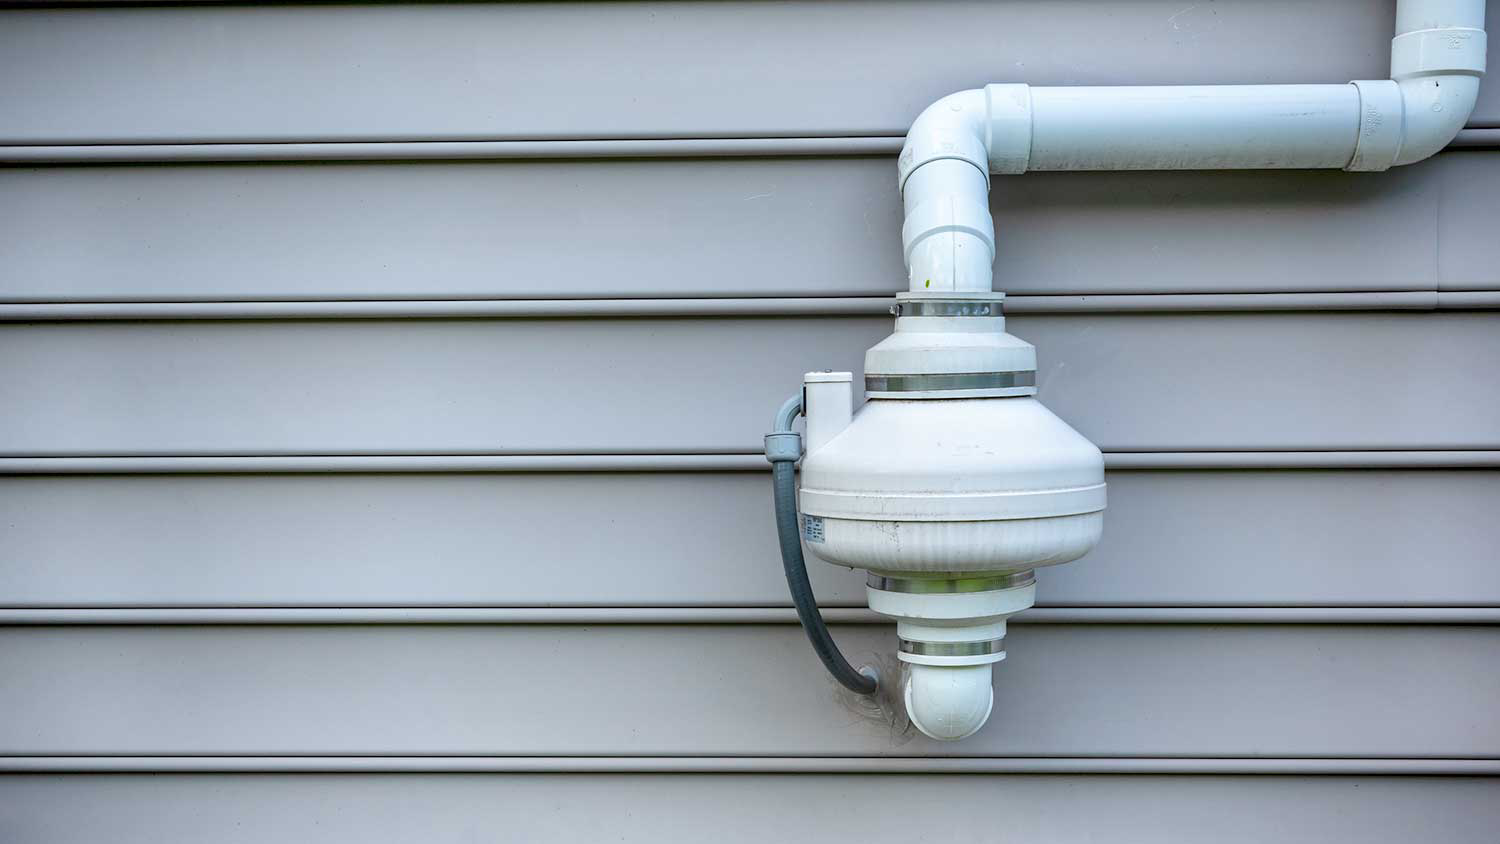
- Position the fan on the exterior wall or roof eave, at least 10 ft above ground and away from windows.
- Secure the fan in the weather‑proof housing using the mounting bracket.
- Connect the vent pipe to the fan inlet with a short coupling; apply Teflon tape on threads.
Complete the Electrical Connection
- Shut off the main breaker.
- Run 12‑AWG wire from a nearby outlet or dedicated circuit to the fan’s power terminals.
- Install a weather‑proof junction box at the fan location, splice the wires, and seal all connections.
- Turn the breaker back on and verify the fan runs at the manufacturer’s rated speed (≈1 rev / sec).
Seal All Penetrations
- Apply silicone caulk around any pipe openings in walls, floors, and the roof.
- Fill gaps around the fan housing and vent outlet with expanding foam.
Test System Performance
- Close all doors, windows, and exhaust fans.
- Run the fan continuously for 24 hours.
- Conduct a post‑mitigation radon test (same location as the initial test).
- If the level drops <4 pCi/L, you’ve succeeded. If not, inspect for leaks, blockages, or insufficient fan capacity.
Optional: Professional Radon System Inspection
Even after a successful DIY reduction, a licensed inspector can certify the system, identify hidden flaws, and ensure compliance with local regulations.
Risks & Challenges of a DIY radon mitigation Project
| ⚠️ Risk | Potential Impact | Mitigation Strategy |
|---|---|---|
| Structural damage from drilling | Cracks in slab or foundation can weaken the building. | Use a proper masonry core bit, drill slowly, and avoid oversizing the hole. |
| Electrical code violations | Fan may overheat, cause fire, or void insurance. | Follow NEC guidelines, use a junction box, and consider hiring an electrician for the wiring. |
| Improper fan sizing | Insufficient suction → high radon persists. | Choose a fan rated for your home’s square‑footage and soil radon levels; consult the manufacturer’s sizing chart. |
| Seal failure over time | Air leaks let radon back in, nullifying the system. | Use high‑quality silicone and expanding foam; re‑inspect seals annually. |
| Legal non‑compliance | Fines, forced removal of system, or insurance issues. | Verify local permitting requirements before drilling; keep documentation of the install. |
| Maintenance neglect | Fan failure goes unnoticed → radon rises again. | Schedule a fan speed check and visual inspection each spring and fall. |
When to Call a Professional
- Complex foundation (multiple basements, crawl spaces with vents, slab with many cracks).
- Local ordinance requires a licensed installer for depressurization systems.
- Electrical work beyond your comfort level (e.g., dedicated circuit, GFCI requirements).
- Post‑install radon stays above 4 pCi/L despite proper DIY steps.
- New home build – incorporate Radon Resistant New Construction methods early to avoid retrofitting later.
A professional will typically provide a warranty on the fan and a written Radon System Inspection report, giving you peace of mind and satisfying many insurance policies.
Frequently Asked Questions
How long does a DIY radon mitigation system take to install?
A well‑planned installation for a single‑story basement or slab can be completed in one to two weekends, roughly 8‑12 hours of hands‑on work.
Can I use a regular household fan for radon reduction?
No. Radon fans are engineered for continuous low‑speed operation, corrosion resistance, and proper airflow. A standard utility fan will not achieve the required suction and will fail quickly.
Will the mitigation system increase my energy bills?
The radon fan typically draws 15‑30 watts, adding about $1‑$2 per month to electricity costs far less than the health benefit of lower radon.
How often should I re‑test my home after installing a DIY system?
Test once a year, especially after major renovations or HVAC changes. A short‑term test is sufficient for an annual check.
Is a permit required for DIY radon mitigation?
Permit requirements vary by state and municipality. Check with your local building department before drilling or performing electrical work.
Conclusion
DIY radon mitigation is understandable. Homeowners want control savings and simple solutions. But radon is not a surface problem. It is a pressure driven invisible gas that demands precision.
While do it yourself radon mitigation may reduce levels slightly in limited scenarios it often fails to deliver consistent safe results. The risks of incorrect design unsafe venting and false confidence are real.
Professional systems cost more upfront but they work. They are designed tested and verified. When health is involved reliability matters more than experimentation.
Whether you choose a DIY attempt or professional installation never skip radon testing and never assume success without data. And if you are unsure a Radon System Inspection can provide clarity before small problems become expensive ones.
If you want expert advice or need help interpreting results you can always reach out at 414-455-7279 for guidance on the safest path forward.