
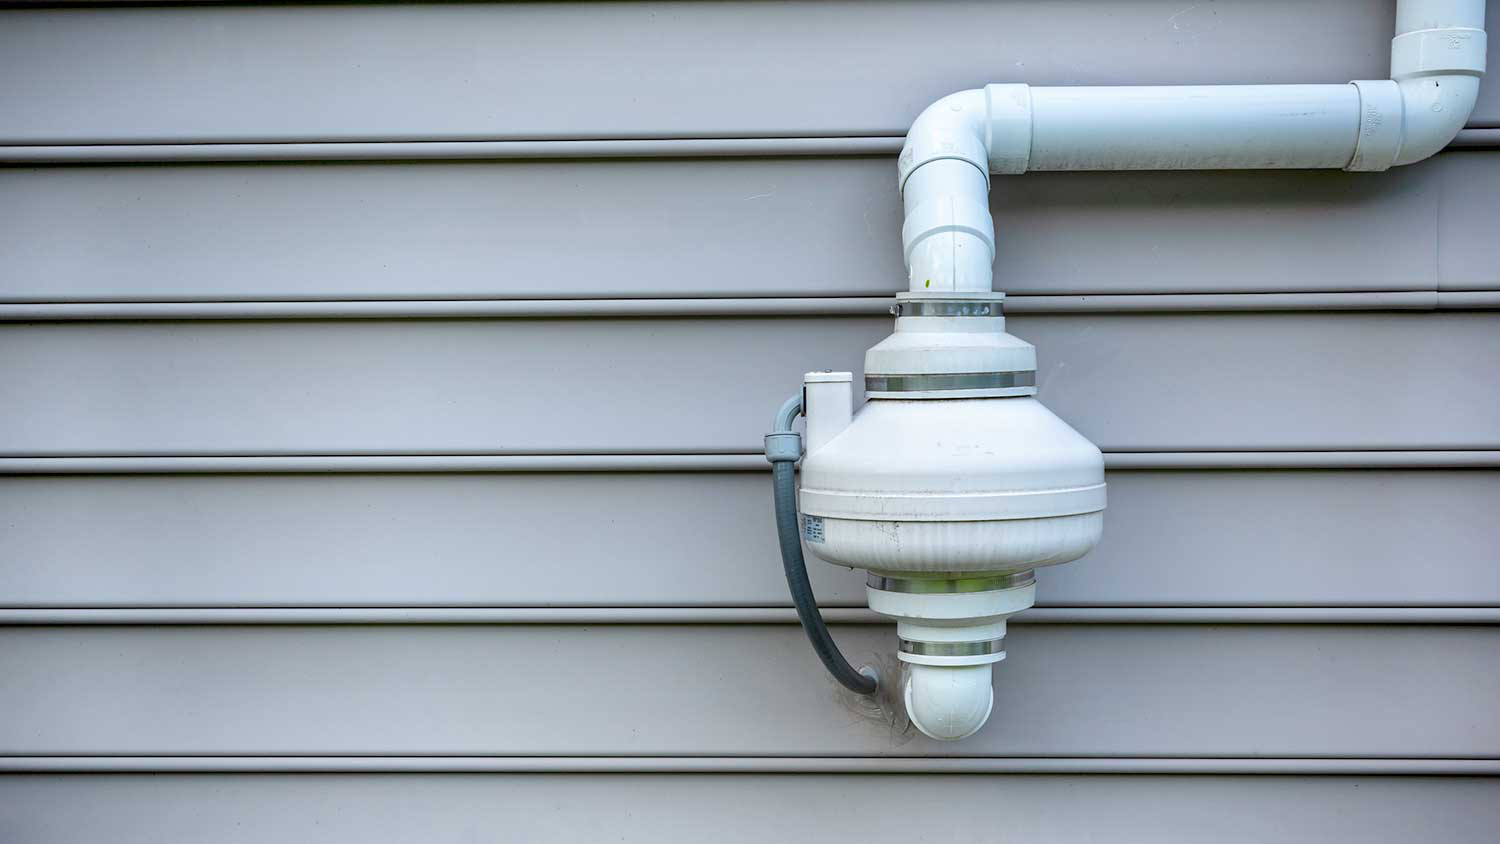
Quick answer: DIY radon mitigation can work, but only if you follow the same design rules a certified installer does: diagnostics, correct fan placement, sealed suction, safe exhaust above the roof, and a post-mitigation test. Most failed DIY systems skip one of these. Brian Thompson of Milwaukee Radon Mitigation (NRPP-certified radon measurement and mitigation professional, West Allis, WI) explains where homeowners go wrong.
Key takeaways
- A homemade sub-slab system uses the same parts as a pro install; the difference is diagnostics and standards.
- The common DIY mistakes are fan in the wrong place, exhaust too low, too few suction points, and no follow-up test.
- A depressurization system can affect furnaces and water heaters that vent by natural draft. That needs checking.
- Sealing cracks or the sump alone rarely brings a high level under 4.0 pCi/L (EPA).
- Test after any system, DIY or professional. The test is the only proof.
In this guide
- Can you really do it yourself?
- How to install a radon mitigation system: the steps, honestly
- Where DIY systems go wrong
- DIY radon mitigation cost: what you actually pay for
- Cheap fixes that do not work on their own
- Wisconsin rules and home sales
- DIY or professional: a quick decision guide
- FAQ
Can you really do it yourself?
Yes, some handy homeowners do. The parts are available online and at supply houses, and the basic idea is simple: pipe, fan, sealed suction point, exhaust above the roof.
What is not simple is the design. A professional installer does not just put a pipe in the floor; they test how suction travels under your slab, pick the number and location of suction points, size the fan to your soil, and check for side effects. That is what separates a system that drops 9.5 pCi/L to 0.30 from one that barely moves the number.
If you go ahead, treat this post as a checklist of what has to be right, not as a full how-to manual.
How to install a radon mitigation system: the steps, honestly
Here is what a standard active sub-slab depressurization install involves. Each step notes what a professional checks that a DIY install often misses.
- Test first. Confirm the level with a reliable test on the lowest livable level. Often skipped: testing under closed-house conditions.
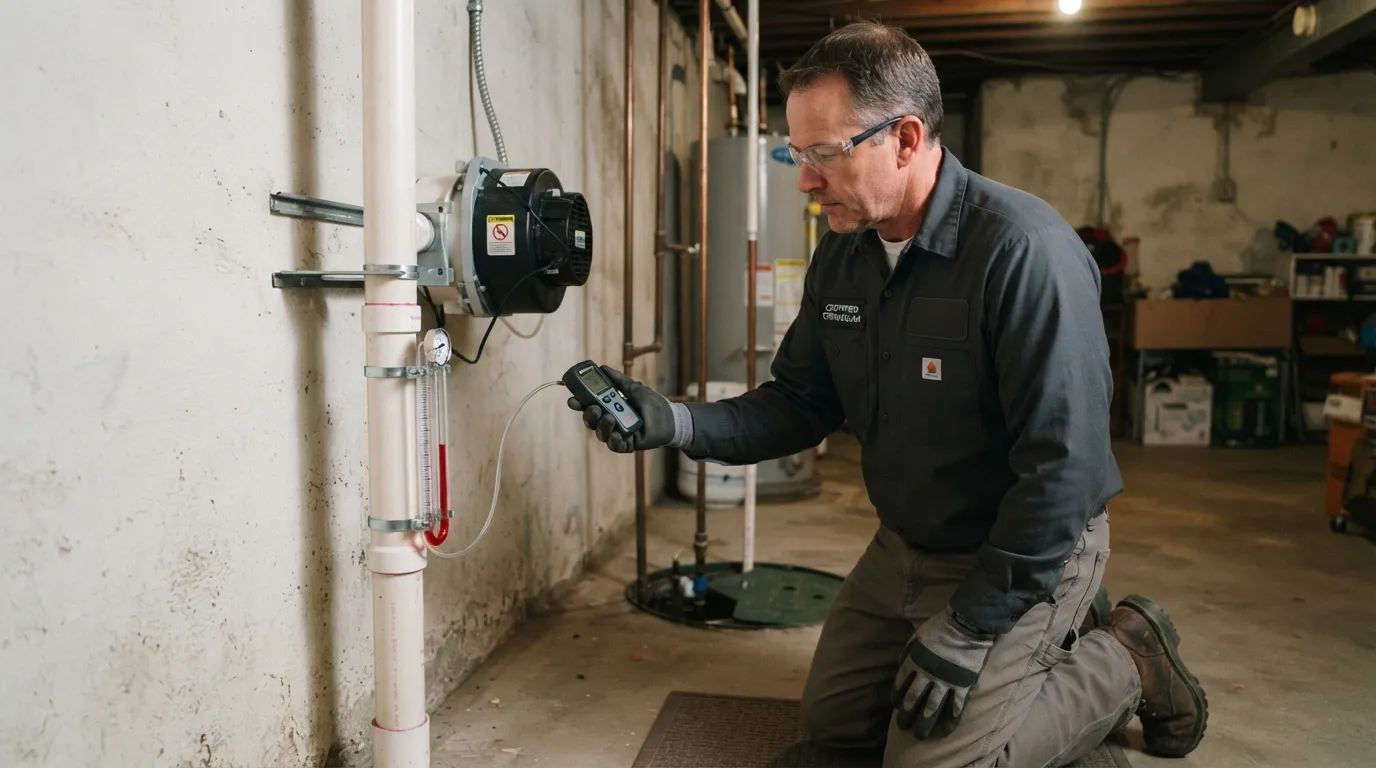
- Run diagnostics. Drill a small test hole and measure whether suction reaches the far corners of the slab. Often skipped entirely, which is the biggest cause of poor results.
- Pick the suction point and route. Choose a spot that reaches the whole slab and a path to a fan outside the living space. Often missed: fan placement rules.
- Core the slab and dig a pit. Remove some fill under the hole to open the airflow. Hard to do well without a core drill.
- Install pipe. Glued Schedule 40 PVC, supported, sloped so condensation drains back toward the slab.
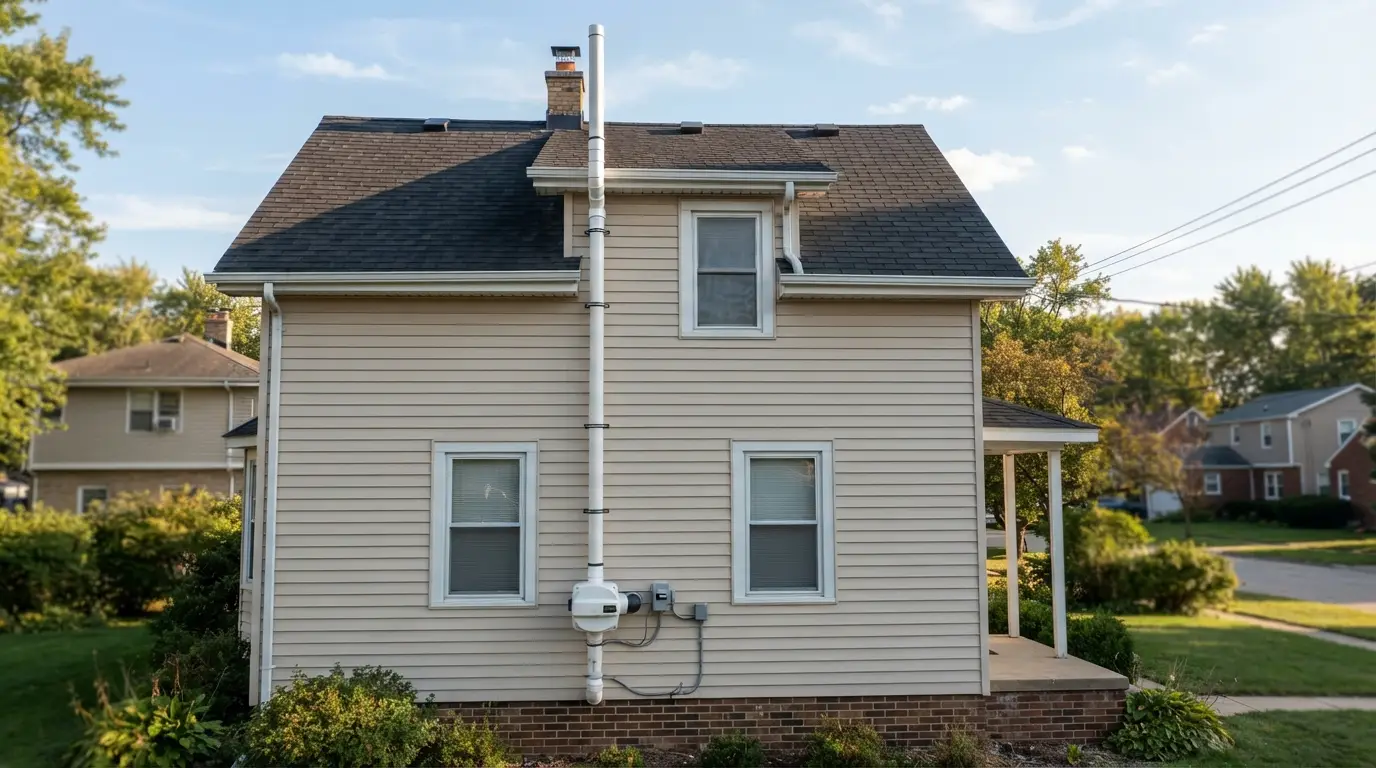
- Mount the fan. Outside the living space and basement: exterior wall, attic or garage. Power it correctly. Electrical work may need a licensed electrician; on our installs, one makes the fan connection.
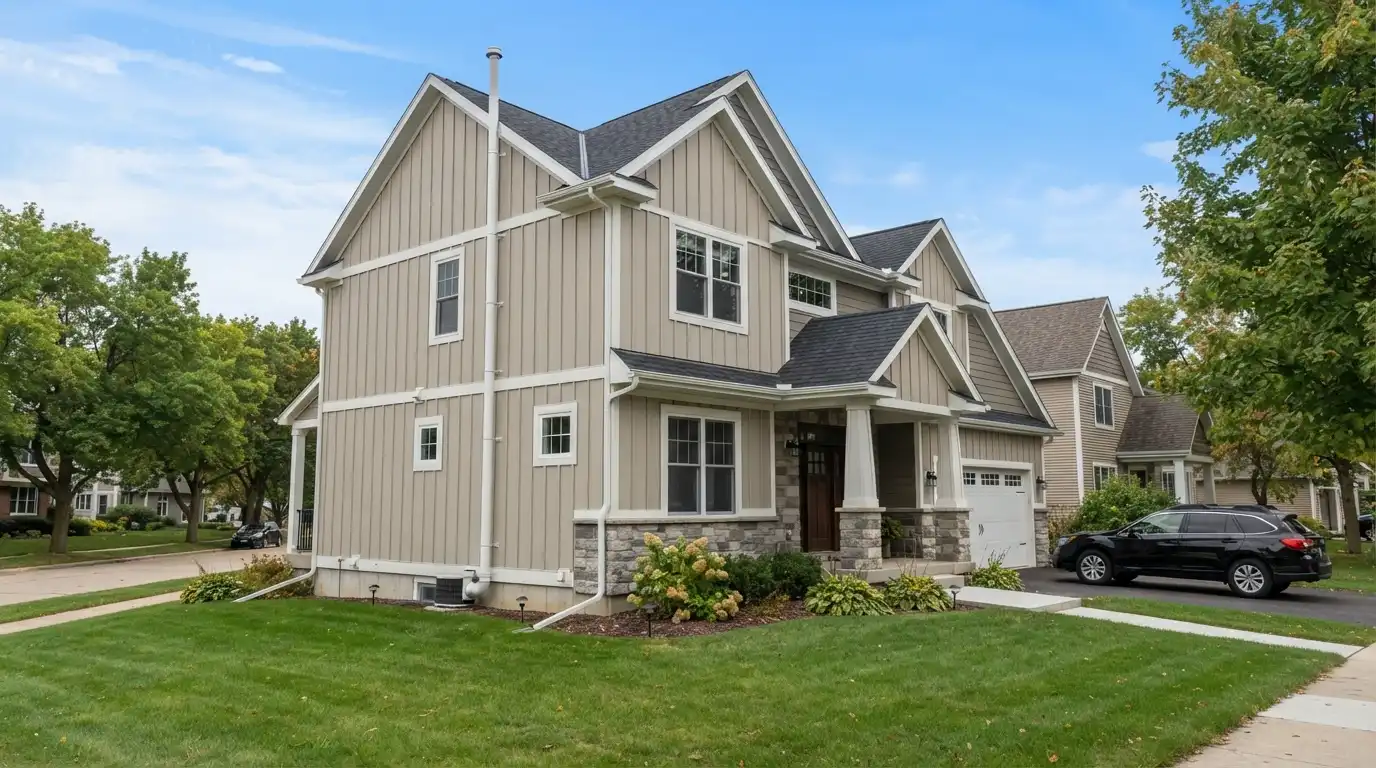
- Exhaust above the roof edge, away from windows, doors and openings, per ANSI/AARST.
- Seal. Floor-wall joints, cracks, the sump lid.
- Add a manometer and label.
- Check combustion appliances. Make sure the system is not pulling exhaust gases back from a furnace or water heater.
- Post-test. No sooner than 24 hours after the fan starts.
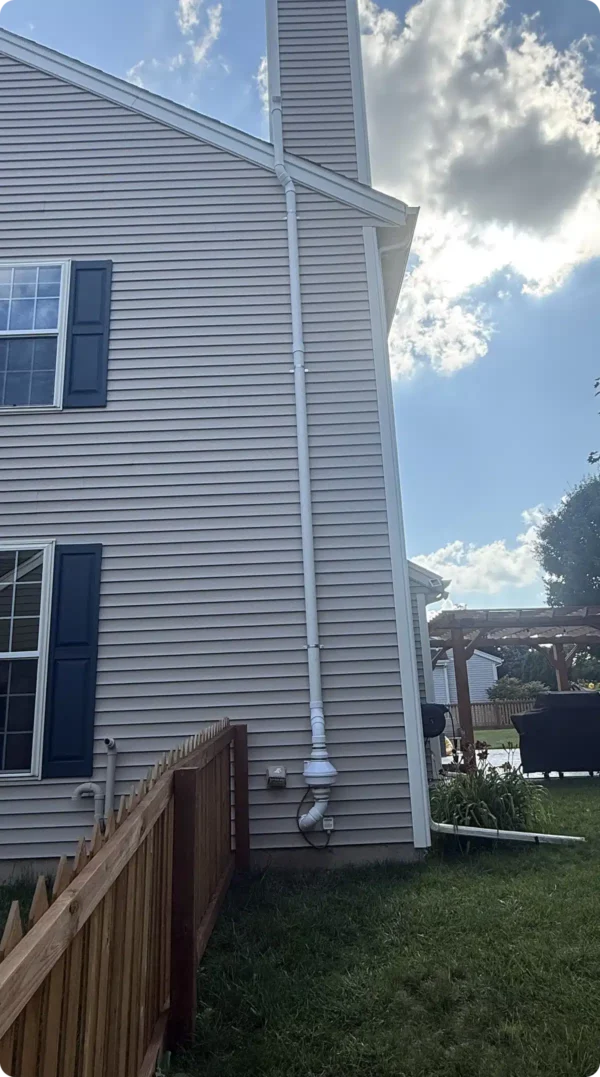
For the theory behind each step, see how a radon mitigation system works.
Where DIY systems go wrong
These are the problems that most often show up on homeowner-built systems:
| Mistake | What happens | Fix |
|---|---|---|
| Fan in the basement | Any leak on the pressurized side pushes radon into the house | Move fan outside the living space |
| Exhaust at ground level or under a window | Radon re-enters through windows or doors | Extend pipe above the roof edge |
| One suction point for a slab that needs two | Some rooms stay high | Add a suction point after diagnostics |
| Fan too small (or too big) | Weak results, or extra noise and energy | Resize fan to the soil |
| Unsealed sump or open block walls | Fan pulls basement air, not soil gas | Seal openings |
| No manometer | Nobody knows the fan has stopped | Add a gauge |
| No post-test | System assumed to work | Test, then retest every 2 years |
The repair is often simple, and it can cost less than a full new install because some of the pipe can stay.
DIY radon mitigation cost: what you actually pay for
DIY saves labor, not parts. A homeowner install still needs:
- a radon-rated inline fan
- Schedule 40 PVC pipe, fittings, primer and cement
- pipe supports, rubber couplings and a rain cap or exhaust fitting suited to the fan
- a core drill (rented or bought) and a way to dig out the pit
- polyurethane caulk and a sealed sump lid if you have a pit
- a manometer and a label
- electrical supplies, or an electrician
- a post-mitigation radon test
The hidden costs are time, tool rental, and the chance of doing it twice. A DIY system that misses the target often ends with a professional redesign anyway. To compare, see our breakdown of how much radon mitigation costs, including what a professional quote should include. If you still want to do the work yourself, Brian offers design advice and help with parts for DIY homeowners.
Cheap fixes that do not work on their own
When people search for the cheapest way to lower radon, they usually land on one of these:
- Sealing cracks only. EPA states that sealing alone has not been shown to lower radon significantly or consistently. It helps an active system; it rarely replaces one.
- Sealing the sump pit only. An open sump is a big entry point, so a sealed lid can lower levels a little. On its own it is rarely enough for a home well above 4.0 pCi/L.
- Opening windows. This dilutes radon while the windows are open. It is not practical through a Wisconsin winter.
- Air purifiers. Standard air purifiers are not a radon fix.
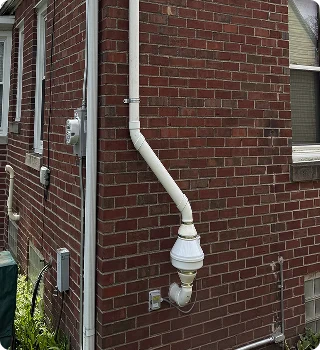
More on what works and what does not is in our guide on how to get rid of radon.
Wisconsin rules and home sales
Wisconsin DHS directs homeowners to nationally certified radon professionals (NRPP or NRSB) for testing and mitigation. In practice, two things matter for a DIY system here:
- Selling later. Radon testing is not required for a Wisconsin home sale, but DHS highly recommends it, and buyers often ask. A system with no label, no installer and no post-test can raise questions during inspection. Keep your test results and photos.
- Daycares and rentals. Since March 2023, Wisconsin DCF requires licensed child care providers to test and mitigate above the EPA action level. If the building is a licensed daycare, a homeowner-built system is not the route to take. Brian tests and mitigates licensed child care centers, home daycares and schools. For rental properties, talk to a certified pro before you build.
Also keep Milwaukee winters in mind. An exterior pipe that is not sloped can hold condensation that freezes at the fan.
Whether you are in Greenfield, West Allis or anywhere in Milwaukee County, a certified installer can look at your DIY plan or existing system. See our radon mitigation in Greenfield page.
DIY or professional: a quick decision guide
| Your situation | Our honest take |
|---|---|
| One basement slab, gravel fill, exterior route, confident with tools | DIY is possible if you test before and after |
| Natural-draft furnace or water heater in the basement | Get a pro; back-drafting needs checking |
| Crawl space, addition or mixed foundation | Get a pro; multi-point design |
| Home sale coming up | Get a pro; buyers want documentation |
| Level well above 4.0 pCi/L | Get a pro; little room for trial and error |
| Licensed daycare or rental building | Get a certified pro |
Want a second opinion before you start?
We will tell you honestly whether your home is a good DIY candidate or not. If it is, Brian can help with design advice and parts. If it is not, you will get a clear written quote for a radon mitigation system installation in Milwaukee.
FAQ
Can I install a radon mitigation system myself?
You can, but it only works if you follow the same rules a certified installer does: diagnostics, fan outside the living space, exhaust above the roof edge, sealing, a manometer and a post-mitigation test. Natural-draft appliances, crawl spaces and mixed foundations are good reasons to hire a certified pro. Wisconsin DHS points homeowners to NRPP- or NRSB-certified professionals.
What is the cheapest way to reduce radon levels in my home?
The cheapest step is a test, because you only fix what is high. After that, the lowest-cost reliable fix for most homes is a single-point sub-slab depressurization system. Sealing cracks and the sump helps, but EPA says sealing alone has not been shown to lower radon significantly or consistently.
Can radon be mitigated by sealing the sump pit only?
Rarely enough on its own. An open sump pit is a major entry point, so sealing it with an airtight lid can lower levels somewhat. But radon also enters through slab cracks and the floor-wall joint. In most homes above 4.0 pCi/L, the sealed sump works best as part of an active system, often as the suction point.
Is a DIY radon system safe?
It can be, if the fan is outside the living space, the exhaust is above the roof edge, and combustion appliances are checked for back-drafting. A fan in the basement or an exhaust near a window can push radon back inside. Always run a post-mitigation test.
Sources
- EPA: Consumer’s Guide to Radon Reduction
- Wisconsin DHS: Radon
- Wisconsin DHS: Radon and Real Estate
- AARST standards
- NRPP: find a certified professional